Getting Started with Docker on Kali Linux: A complete guide
Nowadays, more and more projects rely on Docker to run. It’s often an easier option to set up something without interfering with the existing system, but it doesn’t mean it’s an easy concept or application. If it’s a bit unclear to you, just keep reading, and you’ll learn how to install and use Docker on Kali Linux in this article.
Docker is a service allowing to install and run applications in separate containers, isolated from the main operating system. It’s used to simplify deployment, security and scalability. Luckily, it’s available in the main repository on Kali Linux, so the installation is not too complicated.
Let’s start with a brief theory introduction, before talking about the installation and taking an example to make everything clear. Please don’t hesitate to use the table of contents below if you already know a bit about Docker.
Your essential Linux handbook
Want to level up your Linux skills? Here is the perfect solution to become efficient on Linux. 20% off today!
Download now
What is Docker?
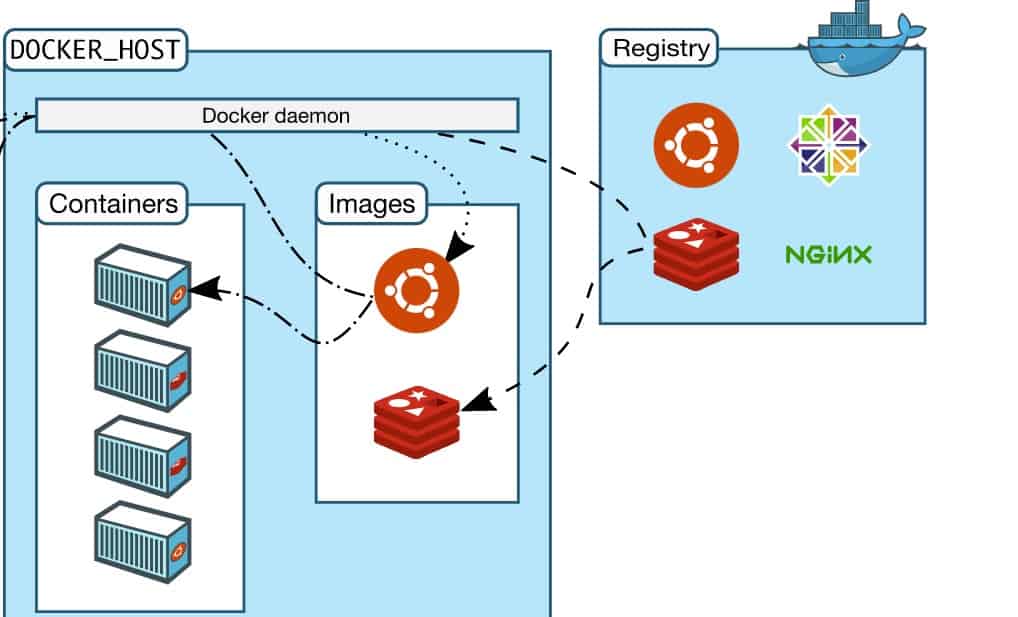
Think of Docker as a magical box that contains everything an application needs to work correctly.
Instead of installing each piece of the application separately on your computer, which can be tricky, Docker puts all those pieces together in one big box, called a container.
Join the Complete Ethical Hacking Course Bundle and step into the world of cybersecurity.
Learn to think like a hacker and protect systems with this comprehensive course.
Developers create this special box by gathering all the necessary stuff for the application to run smoothly. Then they share this box with users like you. When you get the box, you can open it and everything inside will work just as the developer intended.
This way, you don’t have to worry about installing complicated software or dealing with headaches. Docker makes it super easy to run applications without any fuss!
At the end of this article, I’ll give you a real-life example. But here’s the basic idea: Imagine you want to install a complex service or application on your Kali Linux system. It can be tough to get everything working together flawlessly, and you might spend a lot of time setting everything up.
Download your exclusive free PDF containing the most useful Linux commands to elevate your skills!
But here is the cool part: If a developer has already built this project and put everything together in a Docker container, he can share it with you.
When you’ll start this container on your machine, it will work exactly as if it were on the developer computer. It’s like magic! You can get the same project running in no time.
How to install Docker on Kali Linux
Docker is not pre-installed on Kali Linux. A service is required to create or run containers, so we need to install it first. Hopefully, this is not complicated. Unlike on other systems, Docker is available in Kali Linux repositories.
Update your system
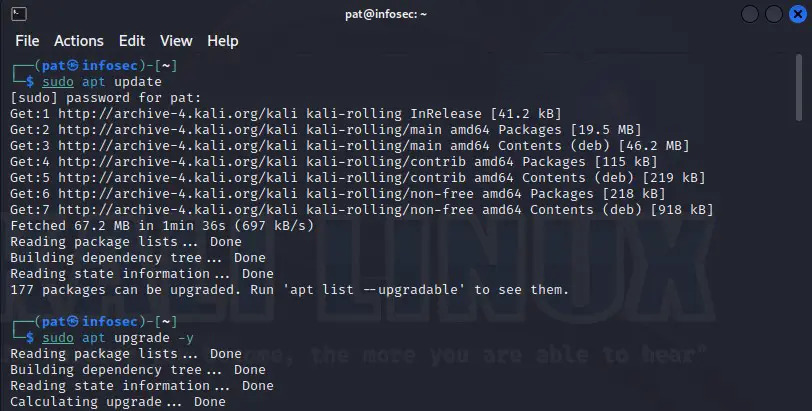
As for any installation tutorial, the first step is to make sure your system is up-to-date. It might take a few minutes to download and install all the new packages version, but it will avoid most issues later on.
Open a terminal and type these commands:sudo apt update
sudo apt upgrade -y
Once done, we can move to the Docker installation in itself. I would suggest a computer restart if there were a lot of packages installed, just to make sure everything is still working properly before installing new things:sudo reboot
Install the Docker package
As mentioned earlier, Docker can be installed directly with the Kali Linux package manager (APT), so you just need one command line:sudo apt install docker.io
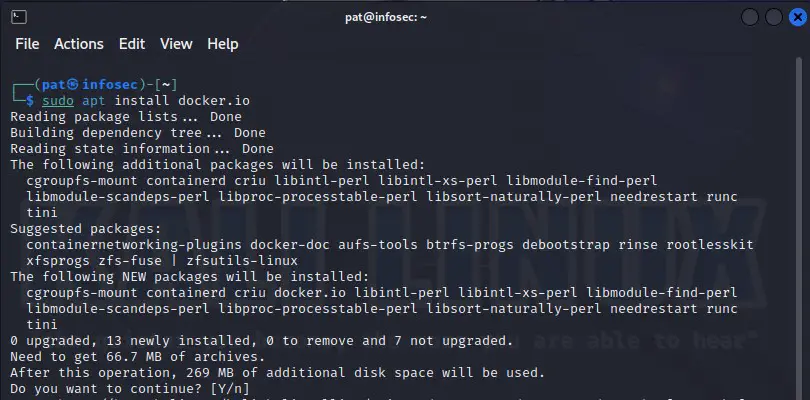
All the requirements will be installed automatically. Just wait a few minutes to download and install everything and it should be fine.
Allow the main user to use Docker
By default, only root can use Docker commands. It might make sense on some servers, but in general, for a Kali Linux user, we need the right to use it from the main session too.
Instead of switching to root or using sudo all the time, I recommend adding the permission for your current user to use Docker commands.
To do this, add your current user to the “docker” group:sudo usermod -aG docker $USER
Once done, you need to exit your current session. If you use SSH, exit and reconnect. If you use the GUI, you need to log out and log in again (or restart the computer).
A quick test you can do is to run this command:docker psIf you get something like that, it means you have the permissions:

Download your exclusive free PDF containing the most useful Linux commands to elevate your skills!
But if you get an error message like “Permission denied while trying to connect to the Docker daemon socket”, then you still don’t have the permission. If you already did the previous commands and restarted, try to check the documentation here.
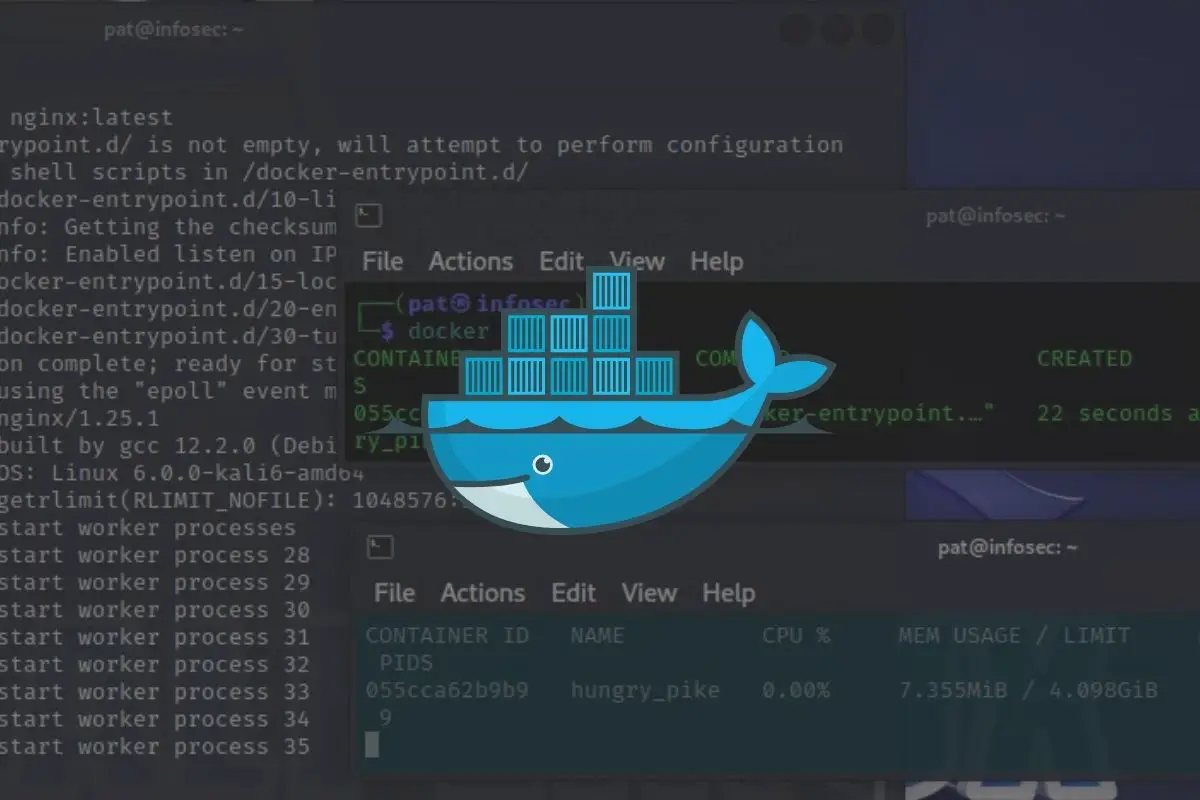
Testing the Docker setup
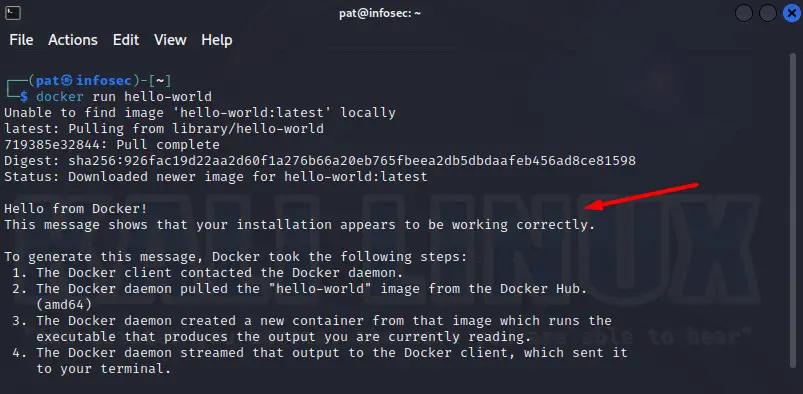
A quick test we can do to make sure is working is to download and run a test container, named “hello-word”.
You can do this with this command:docker run hello-world
Secure your spot in the Accelerator Program, with early access to exclusive resources.
Get 1000+ classes, unlimited mentorship, and more.
Docker will first try to run it, then see that it’s not available locally, so it will be downloaded and started. This application does nothing unless saying “Hello from Docker!”, but it’s a good test to make sure everything is installed properly.
Your first steps with Docker on Kali Linux
Docker commands
The main command with Docker is simply “docker”, but then there are many actions and parameters to do everything with it. Here is a summary of the main commands you’ll use all the time:
- Monitor the running containers:
docker ps - Display the current version of Docker:
docker version - Download a new image:
docker pull [IMAGE] - Run an image (and download it if not existing on your local system):
docker run [IMAGE] - Search for an image in the Docker repository:
docker search [X]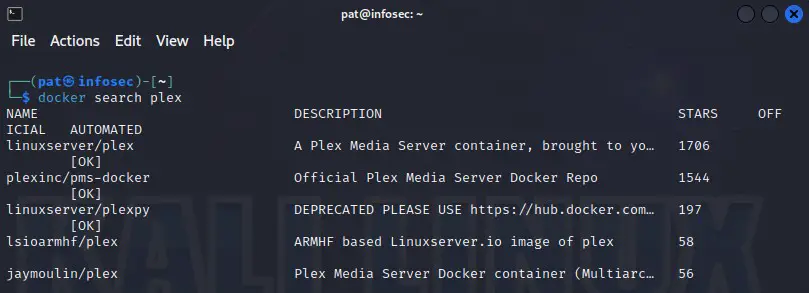
- Show the usage statistics:
docker stats - Display the list of all the Docker commands:
docker help
Example: Nginx
Now that Docker is installed and tested, you’re almost ready to start any project you were initially interested in. But let’s take a full example to make sure you understand the steps, and don’t lose time later on.
Let’s say you want to install Nginx (a web server), but in a Docker container instead of the usual Debian package.
Here are the steps:
- Use the website or the “search” command to check the corresponding images available:
docker search nginx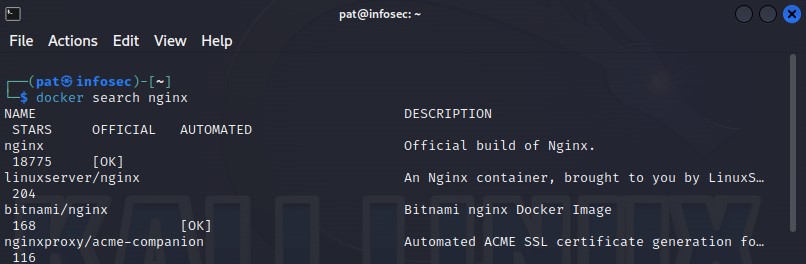
- There are many results, but the first one is generally the best. So let’s install and run it with:
docker run nginx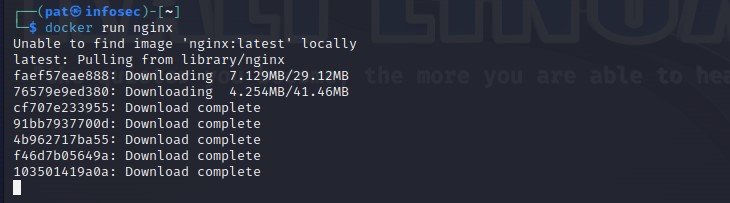
- As for the hello-world example, it will check if it’s already installed, and if not, download it.
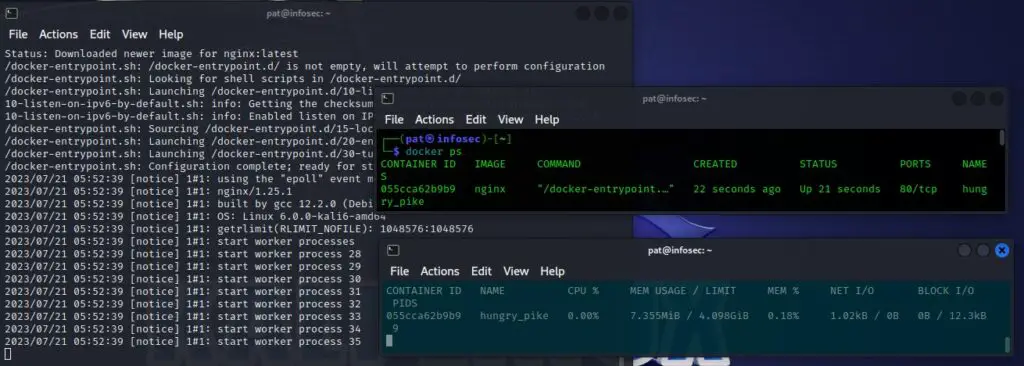
Then, it will start the container.
You can use “docker ps” or “docker stats” to check if it’s running. - One thing I didn’t tell you, is that “docker run [X]” will start the container in the current session. If you close your SSH connection or terminal, the application will stop.
To run it in the background, you need to use the “-d” option:docker run -d nginx
And there you have it! Now you’re all set to start using your application. Depending on the image you choose, there might be some extra steps involved. No worries, though! Just check out the documentation related to that specific image for more details.
For example, let’s say you picked the Nginx build. If you visit their page, they’ll give you some additional parameters and configuration options for your new web server.
I hope things are starting to make more sense now. But you’ll probably need a bit more of practice to get used to it, it’s normal. Go ahead with your Docker project, and you’ll get better and better each time you use it.
Whenever you’re ready for more security, here are things you should think about:
- Break free from Gmail:
You should be able to choose what happens to your data. With Proton, only you can read your emails.
Get private email.
- Protect yourself online:
Use a high-speed Swiss VPN that safeguards your privacy. Open-source, no activity logs.
Get Proton VPN risk-free.
- Master Linux commands:
A sure method to learn (and remember) Linux commands. Useful ones only, one at a time, with clear explanations.
Download the e-book.