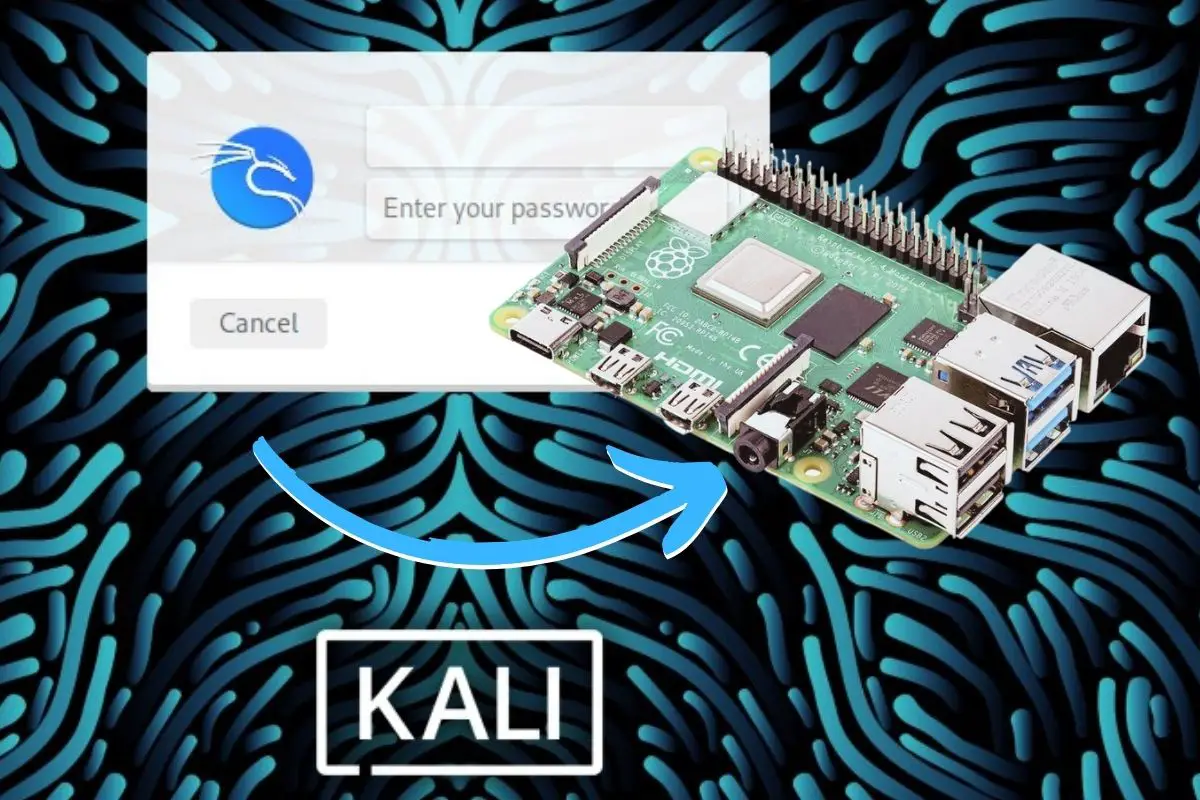
Installing Kali Linux on a Raspberry Pi: Step-by-step guide
The Raspberry Pi is the perfect tool for pen-testers and security experts, and it’s possible to install a full Kali Linux system on it. I’m a fan of this little device, as you might already know, so in this article, I’ll explain how to get Kali running on your Raspberry Pi.
The easiest way to get Kali Linux on a Raspberry Pi is to use the official installation tool: Raspberry Pi Imager. Kali is listed here, and supported on all models. The tool can be used to flash it to a new SD card in a few minutes.
Want to give it a try? Let me explain all the steps to get start the right way with Kali Linux on your Raspberry Pi.
Your essential Linux handbook
Want to level up your Linux skills? Here is the perfect solution to become efficient on Linux. 20% off today!
Download now
How to install Kali Linux on Raspberry Pi
Raspberry Pi Imager includes Kali Linux in its supported OS list. It means installing Kali Linux on a Raspberry Pi is now as simple as installing the official Raspberry Pi OS on a new SD card: choose Kali in the OS list, pick a SD card, and click “Write” to start the installation.
Get Raspberry Pi Imager
If you don’t already have Raspberry Pi Imager on your computer, you can download it from there on the official website.
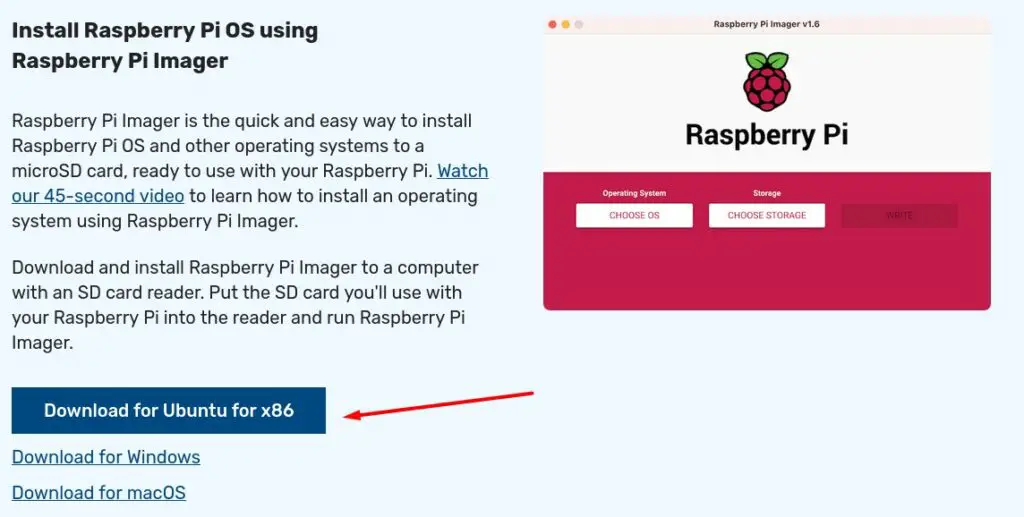
It’s available for most operating systems: Windows, macOS and Ubuntu. The Ubuntu version should run on Kali Linux if you have it on your computer.
I have a full tutorial on how to install Raspberry Pi Imager on Kali Linux, I’ll just give you the short version here.
As a few dependencies are required, the direct installation from the GUI might not work straight away.
The easiest way to get it done is probably to use these commands in a terminal:sudo dpkg -i Downloads/imager_<version>_amd64.deb
sudo apt -f install
Make sure to change the first command to include the exact version you download.
The second command will install the missing dependencies automatically (and Raspberry Pi Imager).
Once installed, Imager is available in the main menu, under “Usual Applications” > “Accessories”:
Join the Complete Ethical Hacking Course Bundle and step into the world of cybersecurity.
Learn to think like a hacker and protect systems with this comprehensive course.
If you prefer using another tool, it’s possible. You can simply download the ARM version of Kali Linux for your Raspberry Pi model directly, I just find that using Raspberry Pi Imager in this case is easier.
Flash Kali Linux on a new SD card
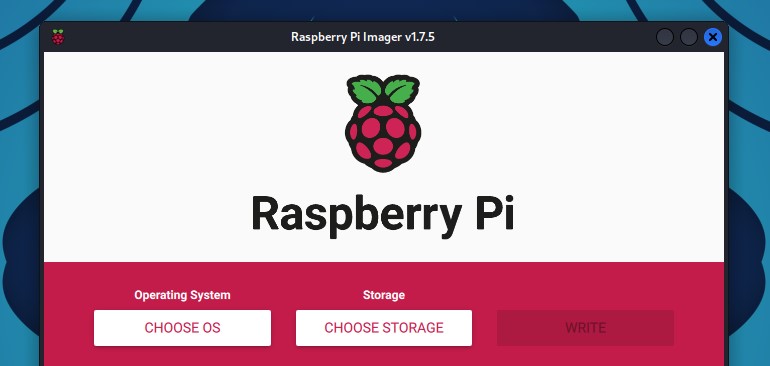
Once Raspberry Pi Imager installed on your computer, flashing Kali Linux on a new SD card is as simple as installing any operating system on your Raspberry Pi:
- Start Raspberry Pi Imager.
- Click on “Choose OS” to open the OS list.
- Go to “Other specific-purpose OS” and click on “Kali Linux”.
- You’ll get a list of all versions available, with the corresponding Raspberry Pi models:
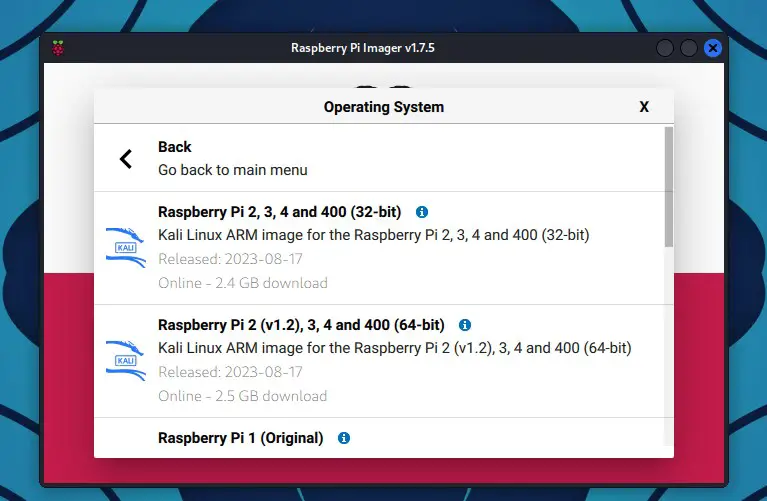
- Click on the version you want to install (64-bit is recommended if supported).
- Then click on the second button to pick your SD card (you can also use a USB drive if you prefer).
- And finally, click on “Write” to start the installation.
After a few minutes, Kali Linux should be ready to use, you can eject the storage device and plug it into the Raspberry Pi. Skip the option 2 below, and continue reading the tutorial with the first boot instructions.
Getting started with Kali on Raspberry Pi
Using Kali Linux on a Raspberry Pi shouldn’t be that different from using it on a normal computer, but there are a few things I want to clarify.
And if you need more details on something, I have plenty of tutorials about Kali Linux on this website.
First boot on Kali Linux
Download your exclusive free PDF containing the most useful Linux commands to elevate your skills!
To get started, insert the SD card into your Raspberry Pi and power it on.
Kali Linux will start directly with the login screen.
No questions or anything, insert, start, and wait (the first boot might be longer, but it’s all running in the background).
There is nothing else to do.
Open a session on Kali Linux
Once Kali started, you need to log in:
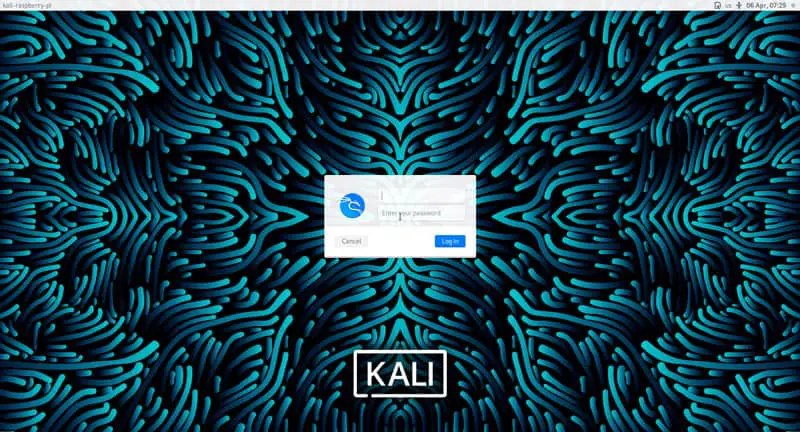
On Raspberry Pi, the default Kali Linux username is “kali” with the same password “kali”.
Warning: the default keyboard layout is set to en-US, which means you may need to type something like “kqli” if (like me) you use another layout.
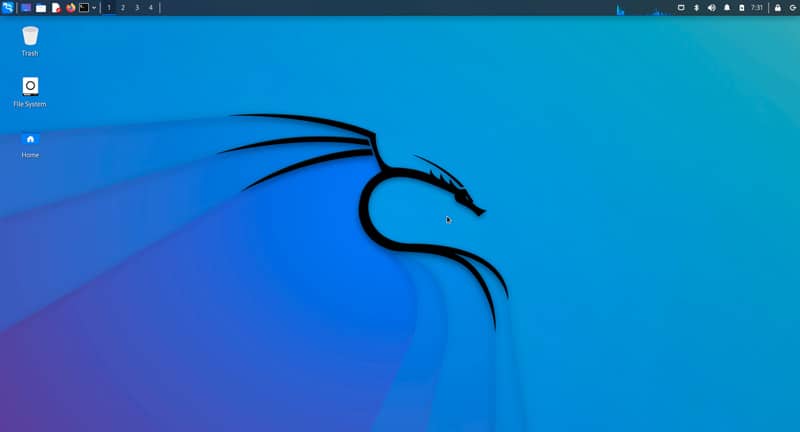
You are now on the Kali Linux Desktop, and we can move to the configuration.
It is strongly recommended that you change these credentials quickly.
You can change it by opening a terminal and typing the command:passwd
Keyboard layout
If you don’t use a US keyboard, you can change it in the main menu > Settings > Keyboard.
- Go to the “Layout” tab and disable the system defaults.
- Add your custom layout.
- Set it by default (or remove the US layout).
But be careful, on the login screen you will keep the US layout for the moment, so choose your password knowing this.
Connect to your Network (DHCP)
Follow this part only if there is a DHCP server on your network.
If not, or if you need to set a static IP address, look at the next section.
Ethernet:
If you can connect to an Ethernet network, it’s the easiest solution: simply connect the RJ45 cable to your Raspberry Pi and wait a few seconds for an IP address to be assigned to it, there is nothing else to do.
Wi-Fi:
The Raspberry Pi Wi-Fi card is supported natively, so connection to a wireless network shouldn’t be complicated either.
On the Kali desktop, click on the network icon at the top right, and choose the SSID of your Wi-Fi network.
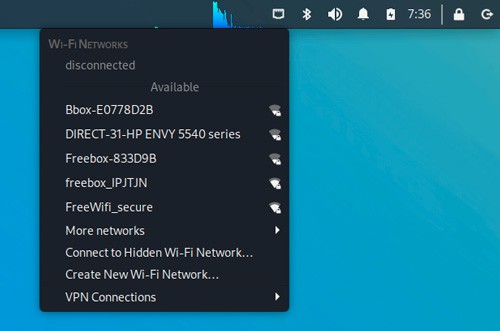
Type the password of your access point, and wait a few moments to be connected.
Get your current IP address:
Whatever your connection mode, you can check the IP address obtained with the ifconfig command:ifconfig
The IP addresses are indicated on the second line of each interface, after the keyword “inet”.
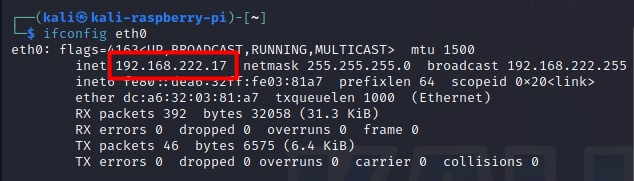
eth0 = Ethernet, wlan0 = Wi-Fi
I recommend not activating both interfaces simultaneously, even if it seems to work.
I had problems with response time by moments. Probably a problem with routing (I didn’t take any longer to look at this, but disabling the Wi-Fi fixed the problem).
Download your exclusive free PDF containing the most useful Linux commands to elevate your skills!
Related: 50 Basic Linux Commands you Need to Know on Kali Linux
Set a static IP address
A static IP address will allow you to choose the IP address associated with your Raspberry Pi, and therefore find it more easily later.
The easiest way is to use the GUI (find “Advanced network configuration” in the main menu), or via this tool in a terminal:sudo nmtui
In it, you can configure your wireless network, but also set a static IP if needed.
But you also do the same thing manually, by directly editing the configuration file:
Try it for free now, with advanced security features.
2900+ servers in 65 countries. It's free. Forever.
- Open a terminal or connect with SSH.
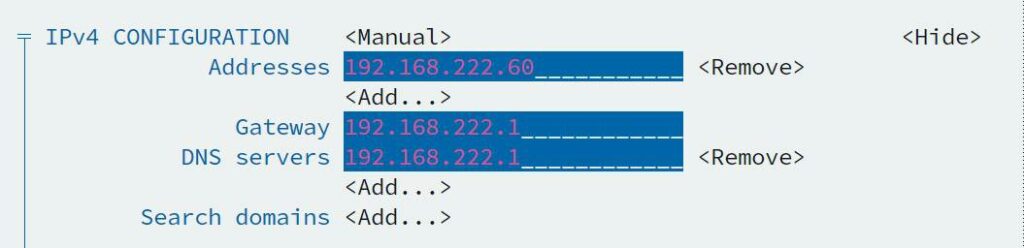
- To set a static IP, open the /etc/network/interfaces file:
sudo nano /etc/network/interfaces - You will see something like this:
auto eth0
iface eth0 inet dhcp - Replace it with something like this:
auto eth0
iface eth0 inet static
address 192.168.1.200
netmask 255.255.255.0
gateway 192.168.1.1
nameserver 8.8.8.8
Replace the IPs indicated by what fits your network. - Reboot your Raspberry Pi or unplug/plug the network cable to update your IP.
Update Kali
As for any fresh new installation, a good practice is to update your system.
Kali is based on Debian, so you can use the same commands:sudo apt update
sudo apt upgrade
By the way, I had approximately 800 packages to upgrade, so I think this is pretty important to do it right away.
Enable SSH and VNC
Now that we have a fixed IP address, it’s time to make our Raspberry Pi accessible from another network computer.
Enable SSH
In theory, SSH is installed and enabled by default.
If you don’t have access, it’s probably because you need to start the service:service ssh start
Enable VNC
VNC will allow you to have access to a remote desktop on your Raspberry Pi.
On the latest Kali Linux versions, TightVNC is already installed.
You just need to set a password:
- Open a terminal or connect via SSH.
- Use this command to define your password:
vncserver - Once done, this will also start the service.
You can now connect to your Raspberry Pi on Kali Linux with any VNC Viewer.
For example, on Ubuntu:sudo apt install xtightvncviewer
xtightvncviewer 192.168.1.200:1
On Windows, you can download TightVNC here. Don’t forget to add “:1” after the IP address.
Remember that VNC is not a secure protocol, and if you use it at home it’s ok, but in a more extensive network, it is better to use it through an SSH tunnel for example.
You can find more details about the remote desktop on Kali Linux in my tutorial linked here. It’s for Raspberry Pi OS, but it’s very similar.
And if you need more information about Kali Linux in general, feel free to do a quick search on the website, you’ll likely find a specific tutorial on it. Here are some examples:
- Brave on Kali Linux: A step-by-step guide
- Disk Partitioning on Kali Linux: A beginner’s guide
- Kali Linux: How to Capture Screenshots Like a Pro
I also have a website dedicated to Raspberry Pi projects & tutorials, that you should definitely check out if you have this fantastic device.
Whenever you’re ready for more security, here are things you should think about:
- Break free from Gmail:
You should be able to choose what happens to your data. With Proton, only you can read your emails.
Get private email.
- Protect yourself online:
Use a high-speed Swiss VPN that safeguards your privacy. Open-source, no activity logs.
Get Proton VPN risk-free.
- Master Linux commands:
A sure method to learn (and remember) Linux commands. Useful ones only, one at a time, with clear explanations.
Download the e-book.